
‘Bath Tub’ or ‘Tub Capacitors’
Do you own a classic wartime receiver? Does it contain “Bath Tub” or “Tub” Capacitors?
I was fortunate enough to acquire an AR88 from the estate of the former VK3RU and it now takes central position in the current VK3RU shack. Roy was a great friend and mentor from an early age and I enjoyed listening to this rig in his shack.
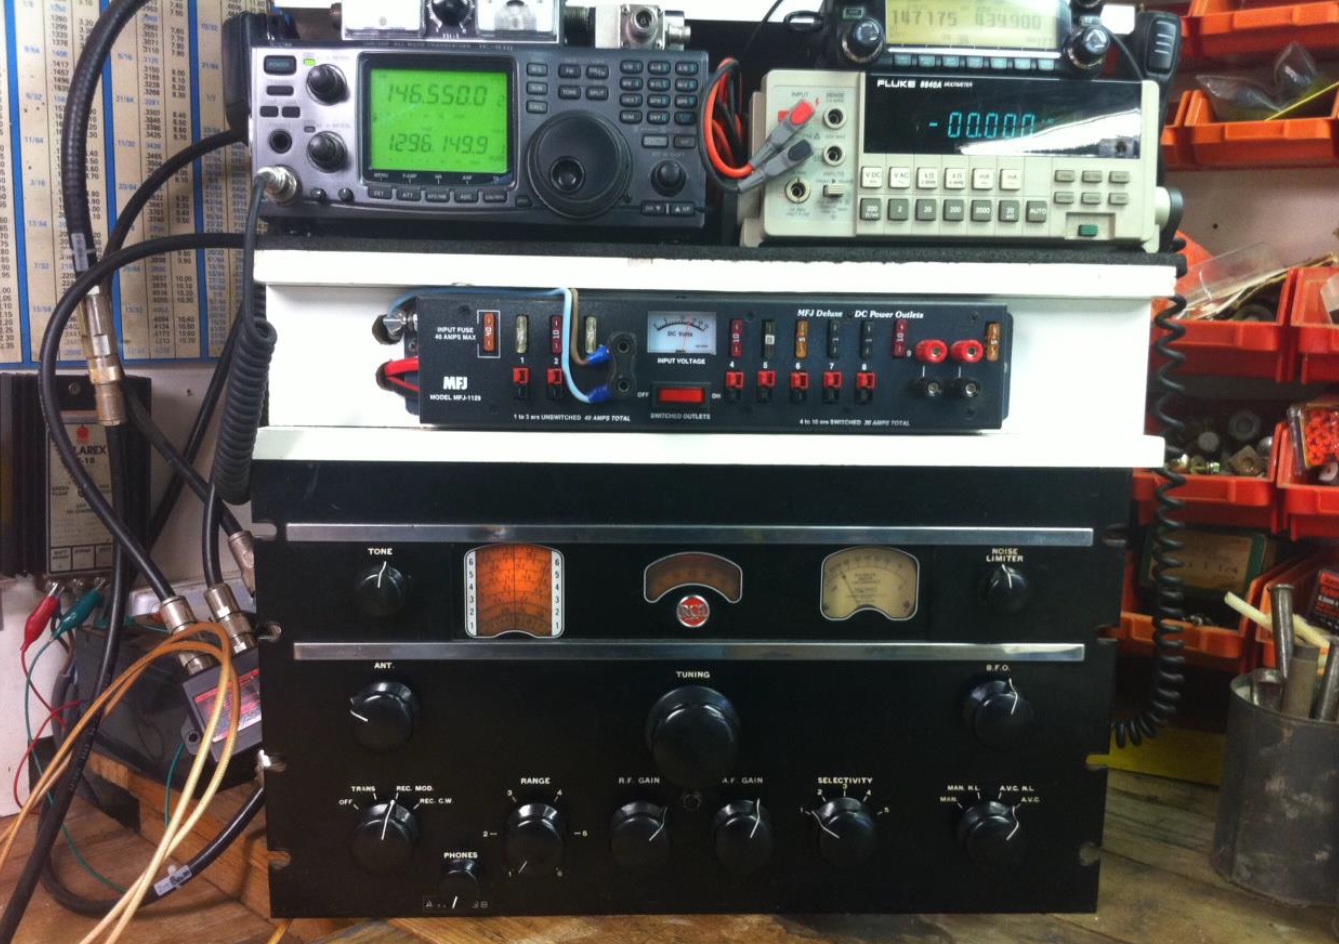
For those not familiar with the AR 88, it is a wartime general coverage receiver built under the RCA banner in two varieties most commonly the AR88D. The “D” covered 535 KHz – 32 MHz in 6 bands. The LF version AR88LF covered 73 – 550KHz and 1.480-30.5MHz also in 6 bands. Mine is the more common AR 88D.
In recent times my receiver had failed to fire up and as a result had not been switched on for several months. The recent Melbourne Cup Day public holiday in VK3 plus an extra day off for me presented a good break and some time for AR activity. A great opportunity to exercise some muscle, extract the receiver from its home, turn it over and make a start. Please note this is not a simple task, the rig weighs more than 45kg and was buried under gear on my bench.
Under normal conditions, firing up this rig is a two stage process. 1. Transmit or Heaters on, then 2. Receive or HT on. It is usual to leave a few moments for the heaters to warm up before step 2 but when selected, the loud HT splat is timely warning of the high voltage involved in this radio. For those unfamiliar with valves, High Tension (HT) or High Voltage (HV) should be treated with respect. Typically the AR88 HT is around 235VDC. In my case, when switching on step 1, the radio responded normally (dial lights on etc) however selecting stage 2, no splat and no audio. Not even a crackle in the speaker or clunk when the HT was applied, potentially serious stuff.
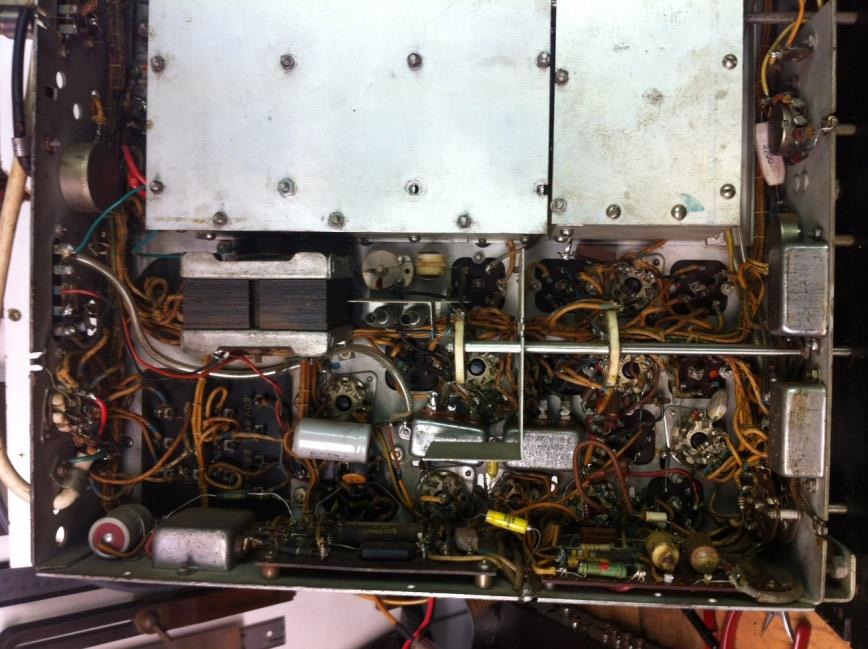
I managed to wrestle the rig onto its back to find yet another warning and an indication of the possible fault, fresh oil soaking into the timber bench top underneath. HT is one thing, but the prospect of PCB is another and both are often found inside many older valve rigs. The AR 88 is no exception. Repairing an old valve rig is a task I was trained to do in my younger days but we were not trained to deal with PCB and this required some modern day research.
Those interested in AR88’s will find a number of websites associated with this rig, all providing plenty of information including manuals and circuits, most importantly advice on dealing with PCB and rebuilding capacitors. PCB or Polychlorinated Biphenyl was used as a heat conductor and electrical insulator most often inside old and often large High Voltage outdoor electricity distribution transformers. PCB has now been identified as a skin irritant and potentially carcinogenic material. Like HT it is stuff to be treated with respect. Needless to say I was off to purchase some Nitrile gloves before sitting down to remove the capacitors, strip down, replace their content, reinstall and hopefully return the rig to service. Nitrile gloves are recommended and I found them available at a local hardware store at a reasonable price.

AR 88 Receiver Capacitor Rebuild – David Williams VK3RU
Removing the tub capacitors was relatively straight forward. Switch off, pull the power, short the HT for safety and get to work. If you are a bit of a purist like me, the thought of simply replacing the three capacitors included inside each tub with external modern components was not an option. I chose to rebuild both tubs to retain their original appearance even though they are buried under the chassis. Tub one, 3 X .1mfd / 400V and tub two, 3 X .01mfd / 400v. As I was to replace the old paper capacitors with more recent polyester components, there was no need for any additional form of insulation or heat conduction material.
The process of tub rebuilding called for the case or tub to be drained of potentially dangerous PCB oil, peeling then unsoldering the back of the metal before replacing the original contents. Close inspection with capacitors removed and cleaned up revealed the likely cause of leaking oil to be perished capacitor terminal seals. The old red coloured rubber like material actually disintegrated when brushed with Methylated Spirits creating a reconstruction problem. Loose and uninsulated capacitor terminals. My problem was solved by aligning the original terminals close to their original position and applying 5 minute epoxy to effectively fix and insulate above case ground.
My web search revealed a simple and basic check for PCB material. “Place a small amount on a piece of copper wire and heat with a gas flame. If a green flame is produced, then the liquid is highly likely to contain chlorine (or other halogen) and could be PCB. If the flame has a yellow colour, then the liquid is more than likely straight hydrocarbon oil”. After drilling the first capacitor I ran the test and produced a yellow flame. At this time I must admit to relaxing a little, but was still not prepared to remove my special gloves and goggles. I was taught to be cautious.
Finally with both capacitors safely returned to their original locations, I steadied the rig in preparation for its big test. Sadly this test failed with still no audio. Maybe those capacitors were not the cause after all? Maybe I should have checked the HT earlier but those capacitors needed to be addressed anyway? I left the rig running with HT on whilst I searched for my meter and cleared the bench. It was not long before a burning smell appeared along with a wisp of smoke. These old rigs are so forgiving that even after emitting smoke they will usually live on and the source was quickly identified. Pretty well all original cabling inside the AR88 chassis is cotton covered and in many respects beginning to fray in my old rig.
The source of smoke was burning cotton covering on an original HT cable run through a small opening in an RF shield. Possibly during the process of my capacitor rebuild this cable had been disturbed resulting in an effective HT short to ground. The fix was a simple repair and further testing demonstrated a radio functioning beautifully with far better audio than I can remember for some time. Those interested in audio will note that I was fortunate enough to have a small selection of Mustard capacitors available in my collection which are well known for their sound quality and physically suitable to complete my rebuild.
I found the entire process relatively straightforward but taking advice from the web it was completed using chemical resistant gloves, goggles and considerable care whilst stripping and cleaning the tubs using a combination of Kerosene and Methylated Spirits to clean up. I collected the capacitor oil, old capacitors and used cleaning agent in a glass jar clearly marked and stored for the next Local Council dangerous goods collection.
So, was it a HT short the cause of my failure or leaky capacitors? Who knows or cares, for sure this as a very satisfying project. After a little research and a few hours effort the old rig takes pride of place on the bench once more.
A word of warning.
Anyone completing a similar capacitor rebuild would be well advised to complete similar research on PCB handling precautions and then proceed with extreme caution. An internet search based upon AR88 lists a number of websites and those listed below provide an excellent place to begin your own research.
Regards,
David, VK3RU
Web References
http://www.radioblvd.com/ar88.htm
[David wrote this article some years back but there are some useful tips in this story for all. The following links have no longer available, but Google can be a friend. Ed]
http://www.meeching.com/circuits/files/AR88D1.pdf
http://www.csenergy.com.au/userfiles/Corporate_PCB_filled_capacitors.pdf
http://www.environment.gov.au/settlements/publications/chemicals/scheduled-waste/pcbidentification.html