Take Some Pi On Your Next Portable Operation
Raspberry Pi
WSJT-X On Your Raspberry Pi For Digital Mode Operation
By Darrin, VK3VDP
The IT geek in me has always had an interest in the digital modes available to our amateur radio community. Armed with my freshly minted upgrade to the standard license I began to explore.
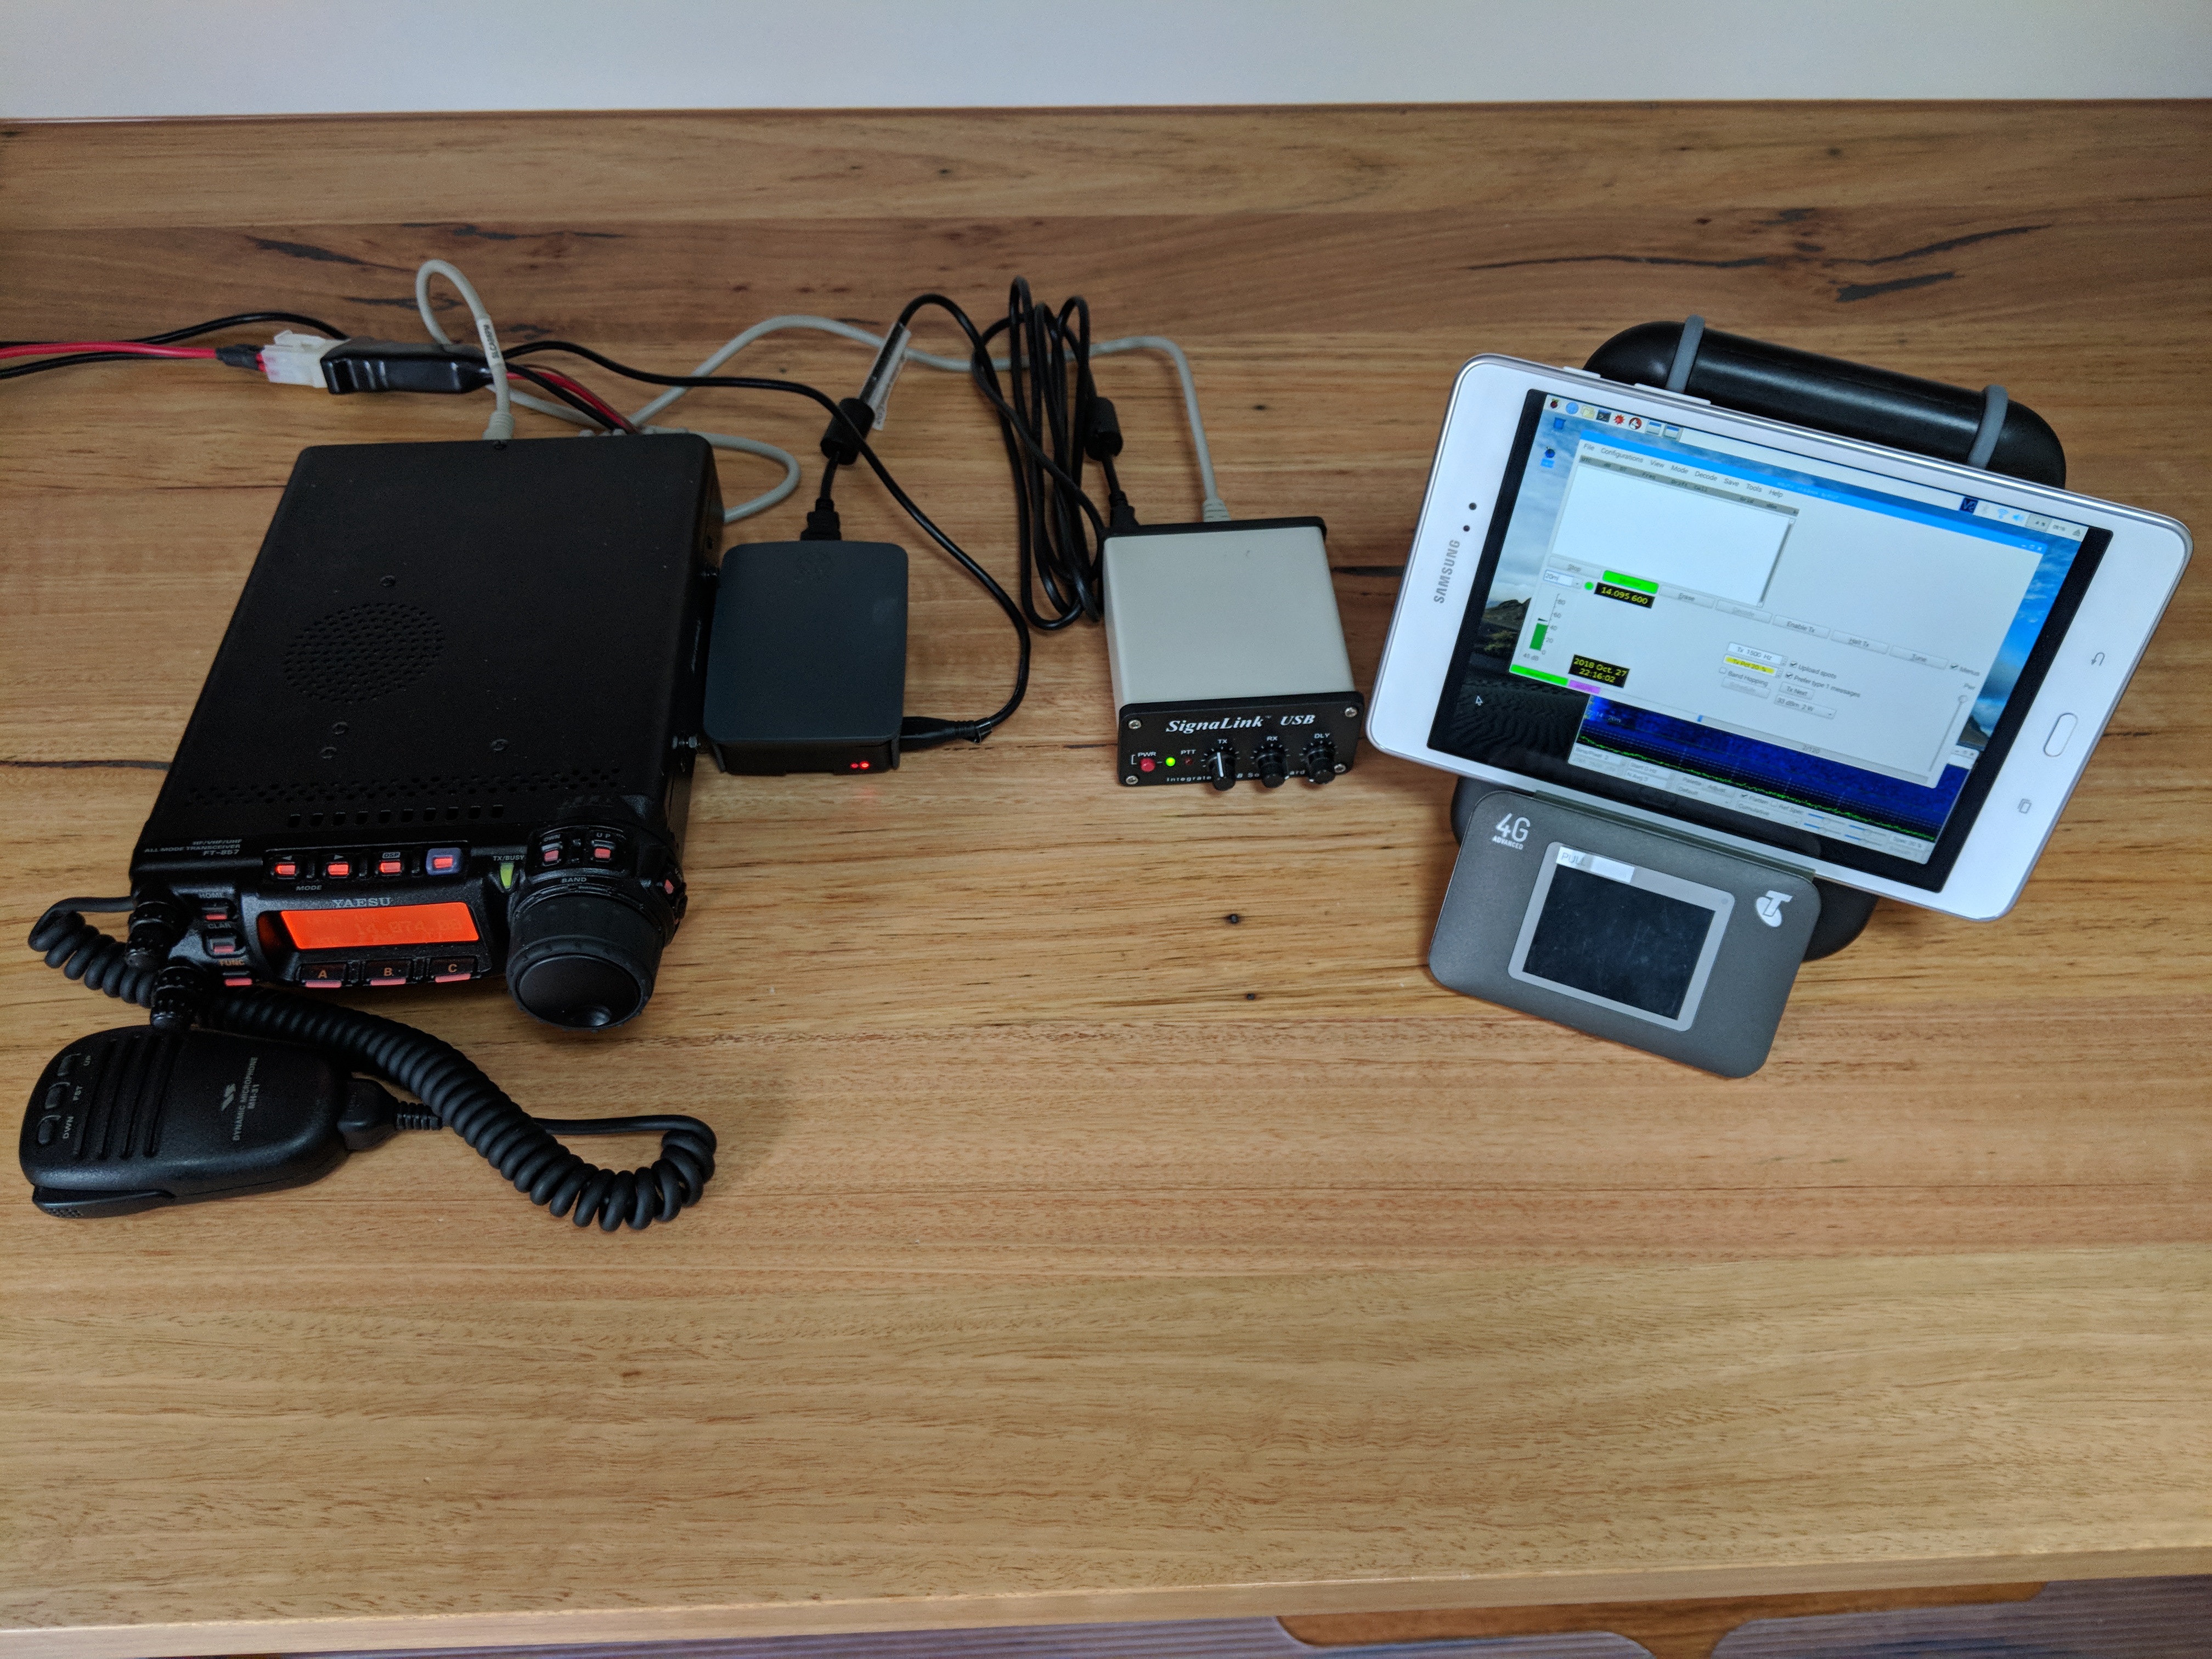
This inevitably lead me into the HF digital modes of JT65 and now FT8 using WSJT-X. Being impractical to run HF at home due to noise and block size restrictions, HF operation is always portable. My basic HF setup is a FT857 or FT817, end fed half wave antennas, Signal Link interface and a very low spec Toshiba 15” laptop and either a SLA or LiFe battery pack.
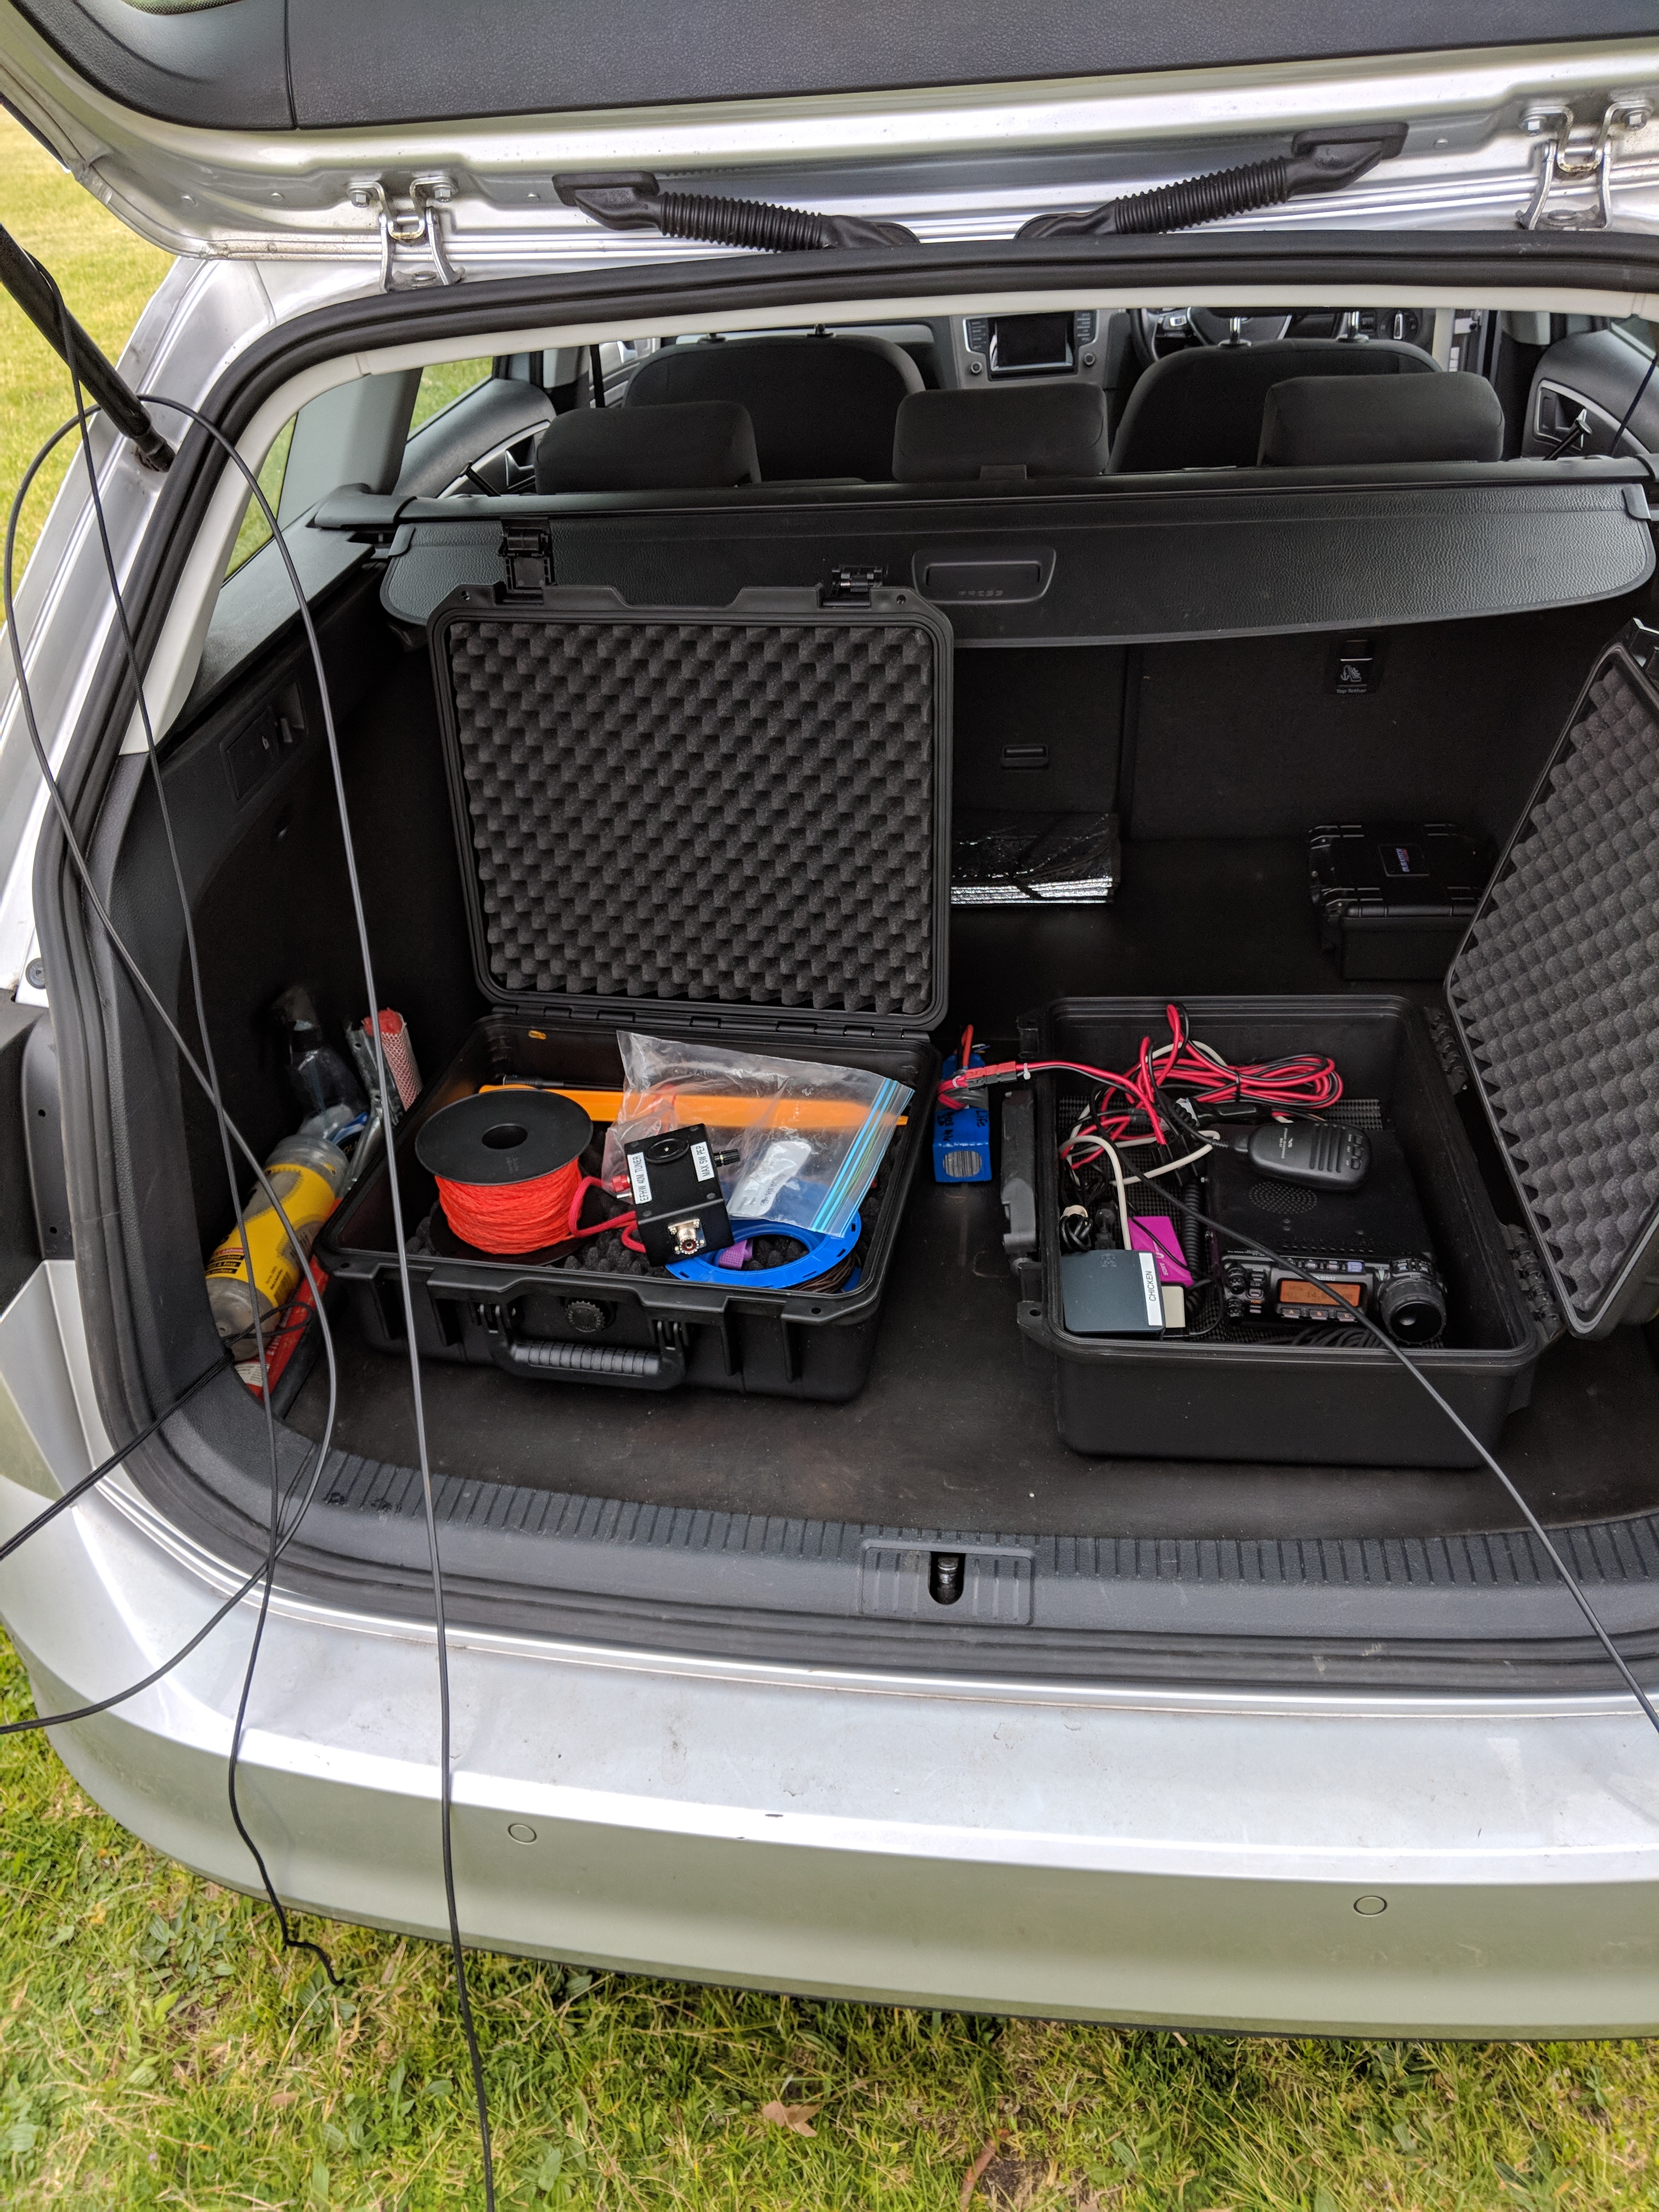
Now you can probably see the flaw in this already!!. Running the laptop was the biggest Achilles heal. It was OK operating out of the back of the vehicle but that was about it, no lugging that up any substantial hill. The laptop’s limited battery life meant operation was a short 2.5 hours at best. A replacement was required.
Inspiration
I have been following Julian, OH8TSN and his YouTube channel (links below) for some time now. He specialises in HF portable operation including digital modes and he often operates portable above the Arctic circle, nothing to be sneezed at. You can find a series of video’s on his channel that show the development of his portable equipment load out which included the use of a Raspberry Pi for HF digital operations.

I was inspired. If he can man-carry his station, in the snow, above the Arctic circle, this was something to be taken notice of.
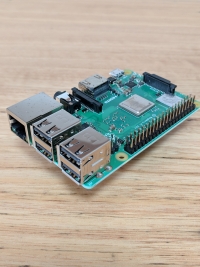
To the Raspberry Pi.
It’s basically a small very capable computer about the size of a cigarette pack. Comes in various models, but the one I’ll be basing my implementation on is a Raspberry Pi 3B+. This device has a 1.4GHz 64bit quad core processor, dual band WiFi, Bluetooth, 4 USB ports and HDMI video and an array of interface points. More than capable for this implementation. Its powered by 5V over a USB connection. There are also third party battery packs called shields that directly connect to the Pi via the GPIO ports. The Raspberry Pi was originally developed as an educational device to teach kids programming. The amateur community being the innovators that we are, seized on them and we see them being utilised as DStar interfaces and many other uses.
The interface to these devices is constantly being improved and it has now reached a point were a person with little if any Linux experience can happily use them. Don’t be afraid to tinker with them, there is a plethora of support and instructions online to help you.
The Raspberry Pi can be sourced from a number of places in Australia including Jaycar and Altronics and the usual web sources. The Pi 3B+ which is the top of the range as far as processor etc is around $75 and its well worth adding a case around $12 to protect the device. It is worth having a shop around and also be aware what model specs are being offered for a particular price point. You will also need a micro SD card which the Pi uses for storage and boots the operating system from. There are a couple of options to load the operating system, all very easy.
What about a screen you say, and how about a keyboard. This is where your smartphone, or tablet comes in handy. We will also install a program called VNC which comes with the Pi operating system to control it over WiFi. No need for a screen or keyboard connected directly to the Raspberry Pi.
Setup
The Raspberry Pi web site has an excellent step by step process for getting your Pi up and running and does a far better job of explaining how to do this than I can here!!. Head to the following web site via the link https://projects.raspberrypi.org/en/projects/raspberry-pi-setting-up
Now that “its alive” you are a few simple steps away from having a very portable computer that’ll run WSJTX for your digital operations.
Enable VNC
Even though the VNC server for remote control is included in the Pi operating system, its is not enabled by default. In the Pi desktop, go to Menu>Settings>Raspberry Pi Configuration>Interfaces and enable VNC for access with VNC Viewer.
Update The Operating System To The Latest Packages
The standard practice when loading software on the Raspberry Pi is to first make sure its running the latest and greatest version of the operating system and its related packages. This has a number of advantages, one of the biggest being that the latest security patches will be applied.
With you Raspberry Pi connected to your internet connection, simply go to the Pi desktop and select Accessories>LXTerminal. This will start a terminal window that looks a bit like a DOS window on a Windows machine.
Now enter the following:
sudo apt-get update enter.
You will see a whole lot of stuff scroll down the screen, its checking for the latest packages to install. Once this has completed, now enter
sudo apt-get upgrade enter
This will now apply those updated packages. This could take a few seconds to a minute or two to complete. Once this completes, leave the terminal window open an we continue.
Install WSJT-X
Lucky for us, a fellow amateur has ported WSJT-X to the Pi operating system. We will prepare the Pi by installing a package, update our software repositories to include his software repository and install the program.
Back in the terminal window, enter:
sudo apt-get install dirmngr enter
Now you may get a message saying its already installed, if you do move to the next step, otherwise just let it install.
Next, in the terminal window, (NB there are 2x ‘-‘ at –keyserver… and –recv-keys…) enter:
sudo apt-key adv –keyserver keyserver.ubuntu.com –recv-keys 862549F9 enter
Next is we need to modify the repository sources file to add the new repository that contains the WSJT-X software. In the terminal window enter:
sudo nano /etc/apt/sources.list enter
This will open up the sources.list file in the nano editor. Don’t worry, follow the instructions/prompts and all will be good.
Add the following line to the end/bottom of the sources.list file:
deb http://ppa.launchpad.net/ki7mt/wsjtx-next/ubuntu trusty main and control-X to save and exit the editor. It may prompt at the bottom to save the file so ‘enter’ accordingly.
You’ve just completed about the most technical bit of the installation, the remainder is very straight forward.
Still in the terminal window, enter
sudo apt-get update enter
This forces a read of the sources.list file that you have just edited by the operating system. This file tells the operating system where to find the software for WSJT-X
Now we actually get to installing WSJT-X. In the terminal window, enter
sudo apt-get install wsjtx enter
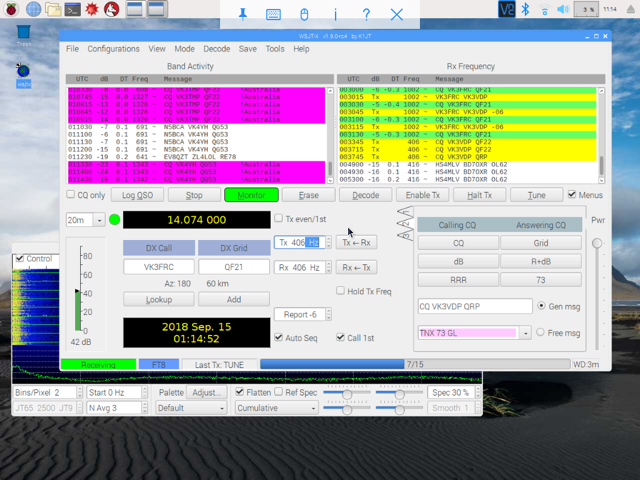
You should now have a entry on the menu called wsjtx.
Connect your Signal Link or similar to one of the USB ports on the Raspberry Pi and your radio. Start wsjtx and complete the usual settings, callsign, grid locator etc. When selecting the audio source, you may have to have a look for a device that references USB or similar. Selecting the audio source can be a bit hit and miss and varies a bit but generally selecting one with USB in the name is a good start. You may have to try one of the others.
Install VNC Viewer
VNC Viewer is a program that connects over WiFi to the VNC Server process running on the Raspberry Pi and allows you to control the Raspberry Pi as if you have a monitor and keyboard connected to it. This program is available for Android, IOS and Windows and Linux.
Install the appropriate version depending on the type of tablet or smart phone you will be using.
To connect to the Raspberry Pi you will need to know the IP address of the Raspberry Pi on the network that it is connected to. Handy to determine this while you still have the monitor connected to the Raspberry Pi and start VNC server. It will show the IP address allocated to the Raspberry Pi.
If you were using the Raspberry Pi connected to the same network every time you are using it, you could assign a static IP address to the Raspberry Pi so it does not change each time its booted. In my case, I run a Wifi hotspot connected to 4G when in the field and that device lists all the devices connected to it, including the Raspberry Pi on its screen so it easy to determine the IP address to use in VNC Viewer.
You should now be up and running and remotely controlling WSJT-X on the Raspberry Pi. This was very handy when operating from the car this past Winter. The gear was in the back of the car and I was warm and dry in the front operating with an Android tablet, the only way to operate portable!!
If you have any issues with getting your setup running and Doctor Google isn’t of any help, drop me a line at vk3vdp@gmail.com and we’ll see if we can’t get you going.
73’s
Darrin
VK3VDP
Links:
OH8STN You Tube Channel (Or search OH8TSN in YouTube)
https://projects.raspberrypi.org/en/projects/raspberry-pi-setting-up
Raspberry Pi Setup
Link here (if this link doesn’t work then copy and paste the following into your new tab on your browser)
https://projects.raspberrypi.org/en/projects/raspberry-pi-setting-up
WSJTX on Raspberry Pi Build Process
Source: https://dl1gkk.com/raspberry-pi-3-setup-raspbian-fldigi-wsjt-x/
_____________
Having connected remotely to Darrin’s Pi at his QTC from my QTH on a first gen iPad using VNC viewer I have to say I was impressed. Guess I have to build one up for myself now! [ed] Martin VK3TMP. PS, don’t forget to click on any image to see a larger image. (Update: I have installed the OS from NOOBS and it drives an old VGA monitor with a $5 adapter for HDMI. Within the GUI screen, configuration, select VNC enable. I have a gen-1 iPad with VNC installed and it runs nicely too.The config window allows for resolution setting too, which allows for full view of the wsjtx windows for setup.)